Fire Safety, Smart Home
Hardware install for Specification smoke and heat alarms
Follow this guidance on how to hardwire install FireAngel's Specification range of mains-powered alarms, including how to 'learn' and 'un-learn' devices from a network.
Fire Safety, Smart Home
The alarm base plate is designed to be permanently mounted, using its own built-in terminal block to connect it to the mains. The base plate can be screwed directly to the ceiling.
IMPORTANT: The circuit used to power the alarm must be a 24 hour voltage circuit that cannot be turned off by a switch.BS 5839-6 states that: For mains powered alarms, each with an integral standby supply (Grade D)1, the mains electricity supply should take the form of either a) an independent circuit at the dwelling’s main circuit board, in which case no other electrical equipment should be connected to this circuit (other than a dedicated monitoring device installed to indicate failure of the mains electricity supply to the alarms); or b) a separately electrically protected, regularly used local lighting circuit.
Use the terminal to safely terminate any copper Earth or green / yellow cable.
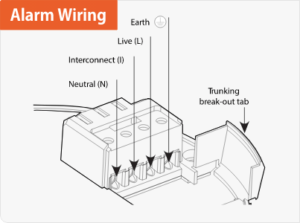
WARNING: Mixing the Live and Neutral connections when interconnecting alarms will damage all the alarms. DO NOT use the Earth wire for the interconnect connection.

Either feed the wire through the hole in the base plate or through the YT2 trunking.

Line up the alarm with the base plate and gently apply pressure until the alarm clicks into place. Switch on the mains electricity supply.
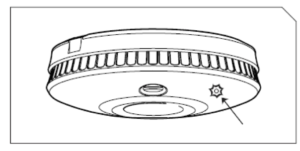
Check that the green LED is on and that the red LED is flashing once approximately every 45 seconds. The LEDs are located on the front of the alarm.
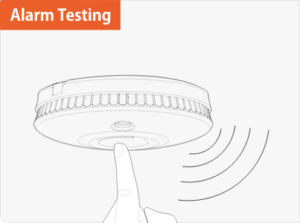
Test the alarm.
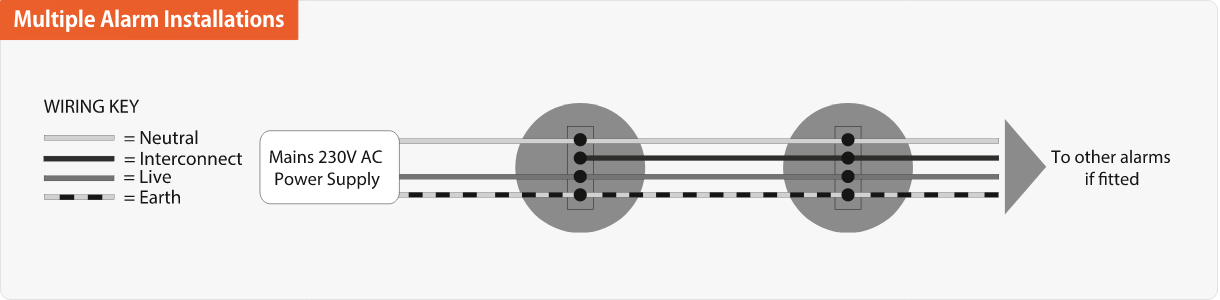
Multiple Alarm Installations:
For multiple alarm installations use a ‘three core and earth’ style cable between all the alarms to be interconnected. Connect the interconnect cable between each alarms ‘I’ terminal. The interconnect wire (minimum 0.75 mm2 cable) must be treated as Live, it should be insulated and sheathed.
DO NOT:
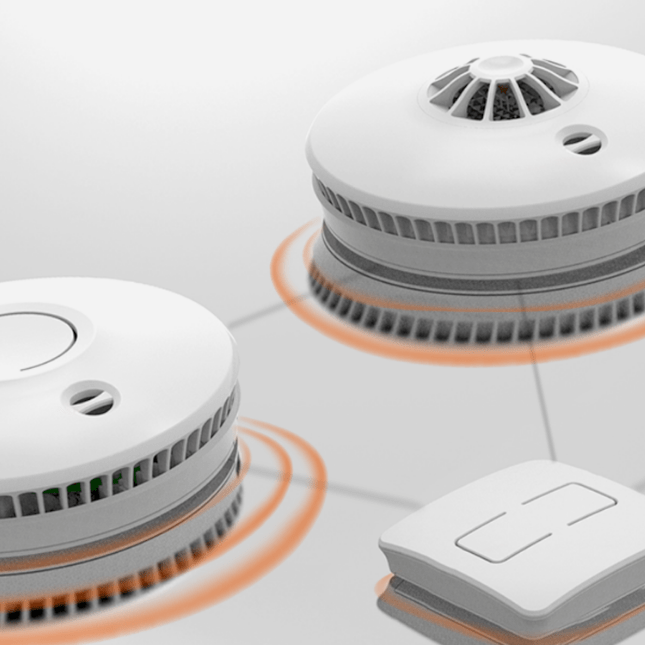
This Smart RF Module is designed to be installed in a Smart RF compatible smoke, heat or carbon monoxide alarm which offers an additional option for wireless connectivity (and which is not already wireless enabled).
The unit is now ready to be “learned-in” or “interlinked” to additional Smart RF products.
To wirelessly interlink two FireAngel Specification devices using a Smart RF module, follow our step-by-step video:
Following the easy how-to video will ensure a wirelessly interlinked alarm via Smart RF is unlinked and removed effectively from the network.
View FireAngel’s range of mains-powered devices or for further support, please get in touch.