Are you a
Homeowner?Are you a
Homeowner?If one alarm detects danger the alert will be heard across all the alarms in the network.
If you press the test button on one of the alarms all the alarms in the network will be tested.
You can build a network of:
Only battery powered devices
Only mains powered devices
A mix of the two
Follow the below steps to easily interlink your alarms and build your protective network.
You are currently viewing a placeholder content from Vimeo. To access the actual content, click the button below. Please note that doing so will share data with third-party providers.
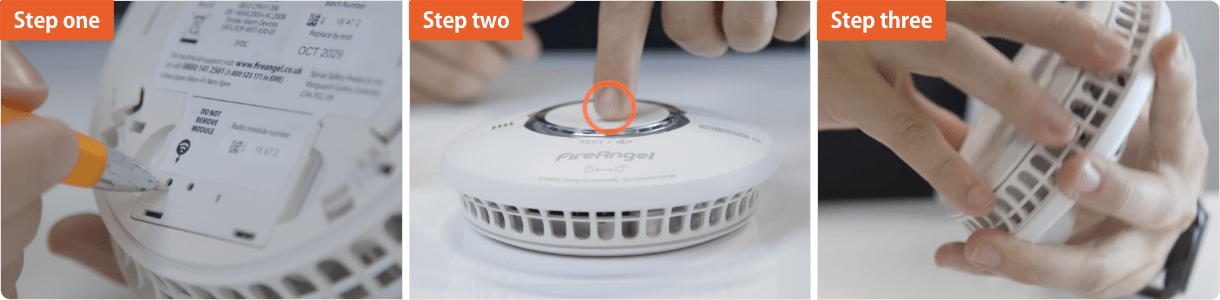
Additional alarms should be ‘learned-in’ in the same way. When ‘learning-in’ additional alarms, any alarm already in the network, can be used as ‘Alarm 1’. You do not have to ‘learn-in’ to every alarm in the network.

To interlink multiple mains powered devices using the hardwire interlink method you need to firstly follow the steps found here. You can then continue with the above steps to add battery powered devices to this mains powered network.
PLEASE NOTE: Make sure there is only one wireless connection into each wired network. For example if you have a hardwired network upstairs and a wireless network downstairs only one of the hardwired products should be linked into the wireless network, connecting both systems.

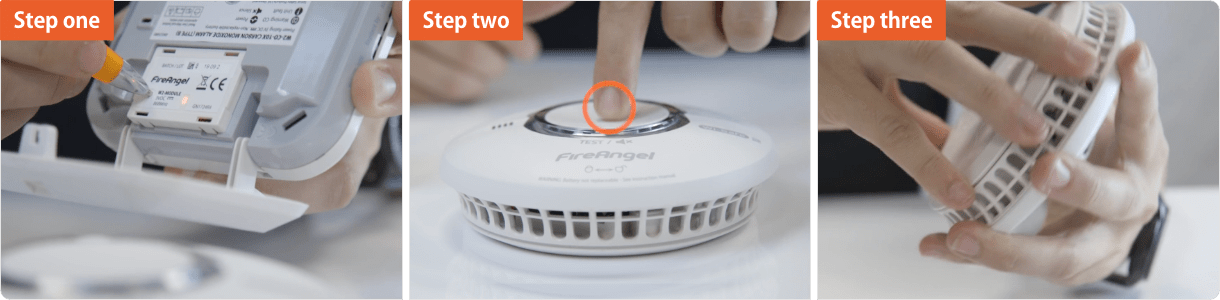
Including a CO detector into the network is simple, let Wes show you how – or follow the below instructions.
If you can't find what your looking for on our blogs and looking for further guidance and advice, our UK-based Customer Support team are on hand all week from 8:30am until 5:30pm, they can answer any further queries you may have on our products, solutions or services.